DeutschEnglish

Submenu

 - - - By CrazyStat - - -

10. January 2015

Retro game Ignition / Bleifuss Fun under Windows 7 using DOSBox

Filed under: Windows — Tags: , , , , , — Christopher Kramer @ 15:37

Remember this retro game?

bleifuss fun

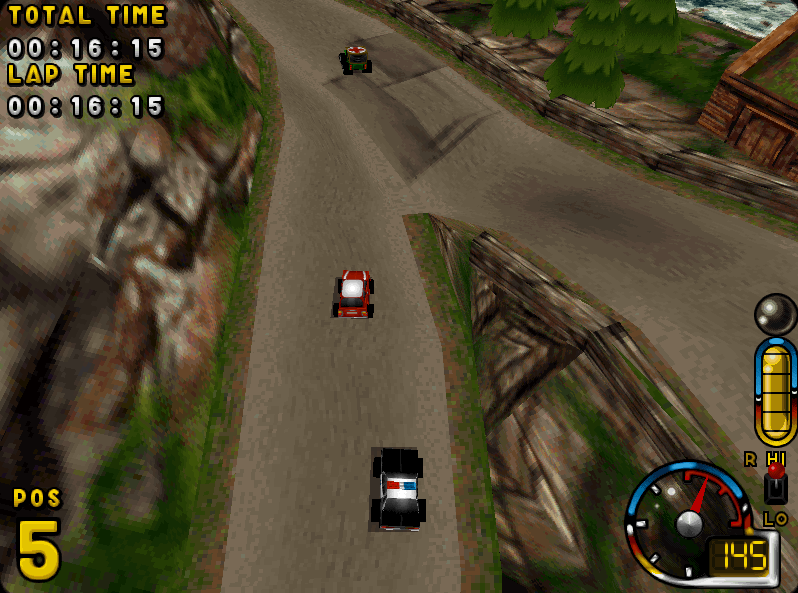
When I was a child, I used to play this with my friends in split screen, which is fun 😀

I just found the old CD and wanted to get it running. This is the way that worked out:

  1. Download and install DOSbox
  2. Create an directory somewhere, e.g. “C:\Users\foo\dosbox”
  3. Start DOSbox
  4. Insert the Bleifuss Fun / Ignition CD into your CD drive (say it has drive D:)
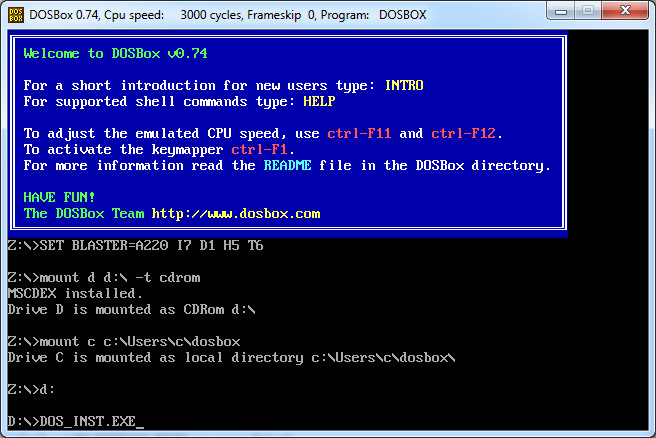
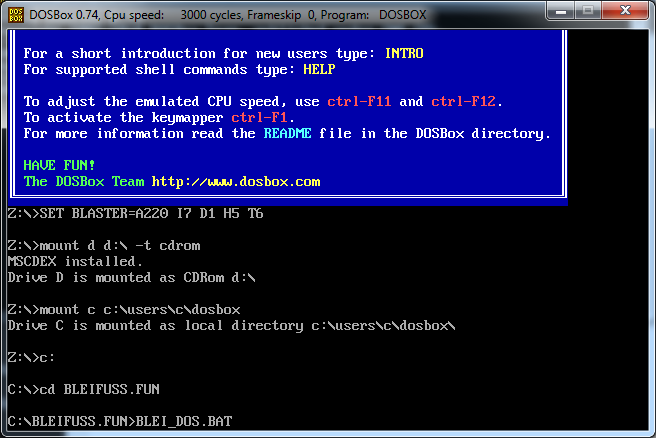
  5. Mount the CD in DOSBox:
    mount d d:\ -t cdrom
  6. Mount the directory you created in step 2 as c:
    mount c c:\Users\foo\dosbox
  7. Switch to the CD-Rom by typing:
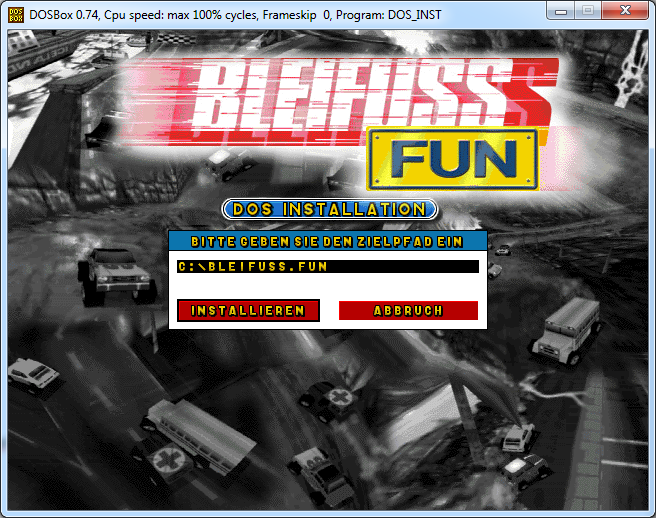
    d:
  8. Start the installation by typing:
    DOS_INST.EXE

  9. Go through the installation by pressing Enter, leaving the default location (C:\BLEIFUSS.FUN\ will end up in C:\Users\foo\dosbox\BLEIFUSS.FUN on your drive)
    bleifuss2
  10. Go into the installation directory
    c:
    cd BLEIFUSS.FUN
  11. Switch into Fullcreen: ALT + Enter
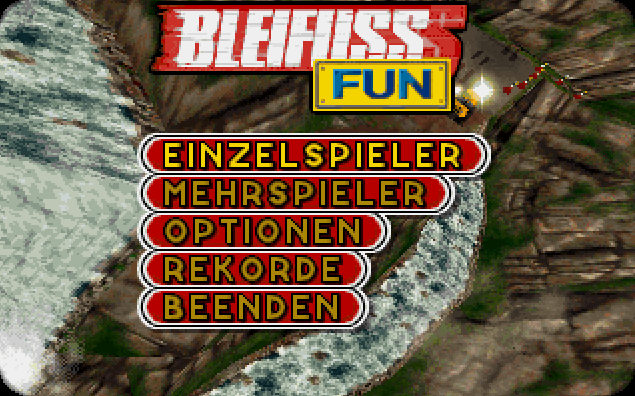
  12. Start the game by typing
    BLEI_DOS.BAT

bleifuss3

You can switch back from fullscreen with Alt + Enter and kill dosbox with CTRL + F9

You can increase the screen resolution under options to 800 x 600 to get the graphics a little better.

Next time you run the game, start Dosbox, insert the CD, mount it, mount c, go into the installation directory and start the game:

bleifuss_start

If you don’t want to insert the CD every time or don’t have a CD drive anymore, you can create an image of the CD using Daemon Tools and mount this into a virtual CD drive and mount this in DOSBox.

Of course this should work on any OS where DOSBox is running.

Have fun!

Recommendation

Try my Open Source PHP visitor analytics script CrazyStat.

30. January 2013

Nagios / Icinga: Monitor (local) memory usage

Filed under: Linux,Server Administration — Tags: , , , , , , , , , , , , , — Christopher Kramer @ 17:55

Nagios and its fork icinga are great monitoring tools. They come with a bundle of plugins to monitor standard services such as HTTP, SMTP, POP3, load and stuff like that. And there are lots of 3rd party plugins available for almost everything else you can think of.

But one standard thing that is missing in the official nagios-plugins package is a plugin to check memory usage (of the local machine).

So here is how to install one. I assume a Debian system with Icinga running – you might want to adjust paths for other distros or nagios.

  1. Download the plugin here
    e.g. from the shell:

    wget https://exchange.icinga.com/exchange/check_memory/files/784/check_memory.pl
  2. Then move the file to the other plugins
    mv check_memory.pl /usr/lib/nagios/plugins/check_memory.pl
  3. Make it executable
    chmod +x /usr/lib/nagios/plugins/check_memory.pl
  4. Try to run it:
    perl /usr/lib/nagios/plugins/check_memory.pl -w 50% -c 25%
  5. This should give something like “CHECK_MEMORY OK – […] free […]”. If an error occurs, you probably need to install the perl module Nagios::Plugin. On Debian, the easiest way is:
    apt-get install libnagios-plugin-perl

    On other distros, you might use CPAN:

    perl -MCPAN -e 'install Nagios::Plugin'

    This will ask you lots of questions and install lots of dependencies (where you should say “yes”).

  6. Configure the check_memory command. To do this, create a file /etc/nagios-plugins/config/memory.cfg with this content:
    # 'check_memory' command definition
    define command{
            command_name    check_memory
            command_line    perl /usr/lib/nagios/plugins/check_memory.pl -w $ARG1$ -c $ARG2$
            }
  7. Now you can use the check_memory command to define a service. For example, add this to /etc/icinga/objects/localhost_icinga.cfg (assuming you define localhost-services there):
    define service{
            use                             generic-service
            host_name                       localhost
            service_description             Memory
            check_command                   check_memory!50%!25%
            }

    This will send you a warning when memory usage is 50% and critical when only 25% is free. You might want to adjust these values of course depending on what is normal on your system and how early you want to be notified.

  8. Check your configuration:
    /usr/local/icinga/bin/icinga -v /etc/icinga/icinga.cfg
  9. Restart Icinga / Nagios if the preflight-check was okay:
    /etc/init.d/icinga restart

This should be it.

I hope this helped somebody.

To monitor memory usage of a remote server, you’ll need SNMP for example. Maybe I’ll post another blog post on this soon.

7. August 2012

Flash on the Raspberry Pi

Filed under: Linux,Raspberry Pi — Tags: , , , , , , , , — Christopher Kramer @ 17:14

The Raspberry Pi is a cool tiny board with a ARM CPU and lots of interfaces like HDMI, USB and Ethernet that runs Linux and costs only about 30€. If you have not heard if it, you should have a look at it, it’s just a very cool gadget to play around with or build your own devices. I got mine about a month ago but unfortunately did not have a lot of time to play with it, but am doing a bit from time to time, so you might hear some more stuff about it soon.

That’s what (mine) looks like:

Lots of people say having flash on the raspberry pi would be cool but then others claim it’s impossible to realize. In the Raspberry Pi forum, user “Aux” writes:

There is absolutely no way of getting Flash for RasPi. Adobe is a closed-source developer and the only version they made for ARM CPUs is Android one which requires ARMv7 CPU with NEON extension. That makes RasPi unable to run it even if someone ports Android.

That’s a reasonable thought and I thought the same way. But then I talked to a friend of mine and he said “well, what about Gnash? Does it run on the raspberry Pi?”

And so I went straight home and installed Gnash on my Raspberry Pi. And it works 🙂

Opening Adobe’s Flash test page looks like this:

The red ball indicates that Flash is working.

So what is gnash? Well, this is what the Debian repository description says:

GNU Gnash is a free GPL’d SWF player. It runs as a standalone application on either the desktop or embedded devices, or may be used as a plugin for several popular browsers. It supports playing media from a disk or streaming over a network connection.

GNU Gnash is based on GameSWF and supports most SWF v7 features and some SWF v8 and v9. SWF v10 is not supported by GNU Gnash.

Included in the Gnash is an XML based messaging system, as specified in the SWF specification. This lets a SWF animation communicate over a TCP/IP socket, and parse the incoming XML message. This lets an animation be a remote control for other devices or applications.

As there is an ARM package of Gnash, it installs fine on Debian for the Raspberry Pi.

Here is how you install Gnash for Flash support in the browser:

sudo apt-get install iceweasel browser-plugin-gnash

So this will get you a Mozilla-based browser called iceweasel (just like Firefox) that plays Flash.

Well, this is the theory. Reality is that going to youtube with that and trying to play a movie is just a pain. It eats up the whole CPU and hangs for hours until the 5 minutes movie is through.

But simple Flash animations should work fine. Have a try and enjoy your raspberry Pi!

Note that I still used Debian Squeeze and not yet the special Raspbian distro that is reported to run faster. I will have a try with the new version soon to see whether Gnash works reasonably fast on the new version.